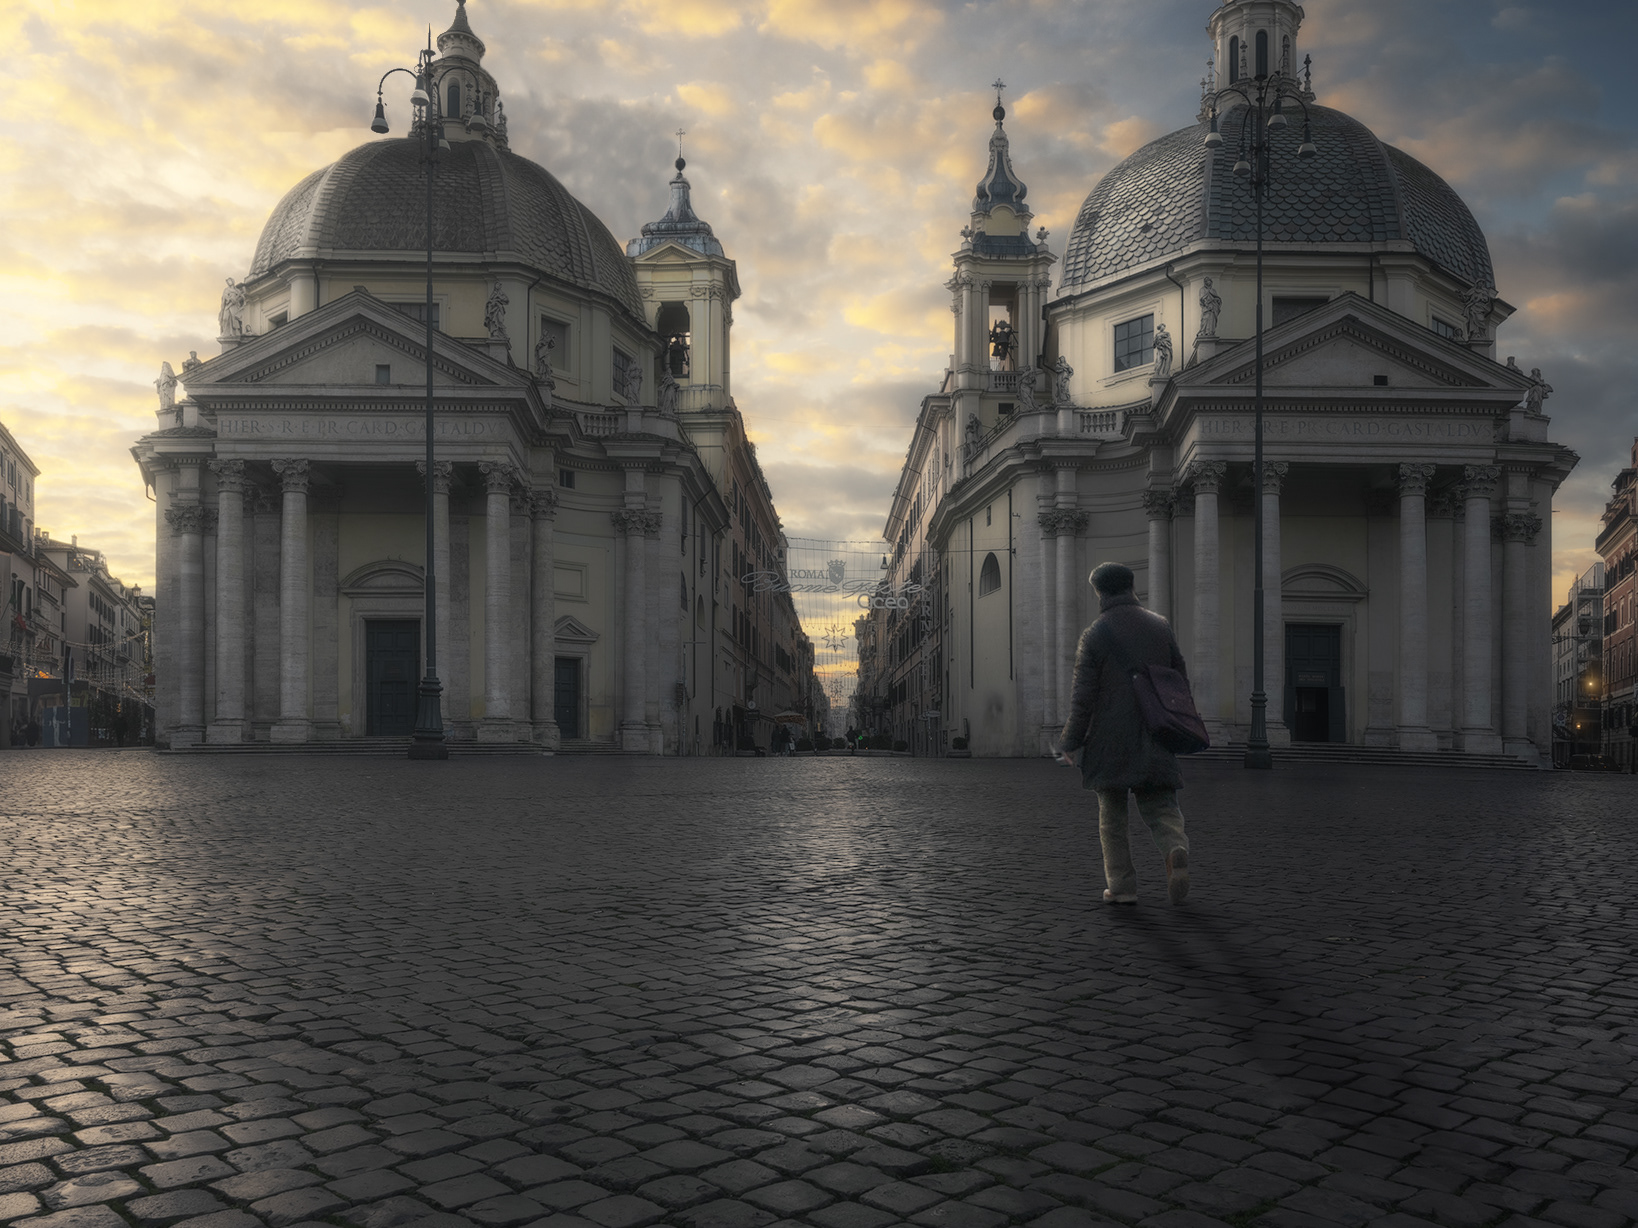

Handheld single-shot photography, despite its limitations, offers undeniable practical and operational advantages: it allows you to quickly capture unique moments, provides greater flexibility and freedom of movement, and avoids the "frustration" of having to set up a tripod every time.
In this article, assuming you have a basic understanding of concepts like "dynamic range," ISO, shutter speed, and aperture (concepts that are easily accessible online), I would like to outline what I believe are three essential steps for taking this type of shot in urban nightscapes.
In future articles, I will address more detailed aspects such as composition, managing dynamic elements (e.g., people), and creativity.
Consider Shadows and Highlights
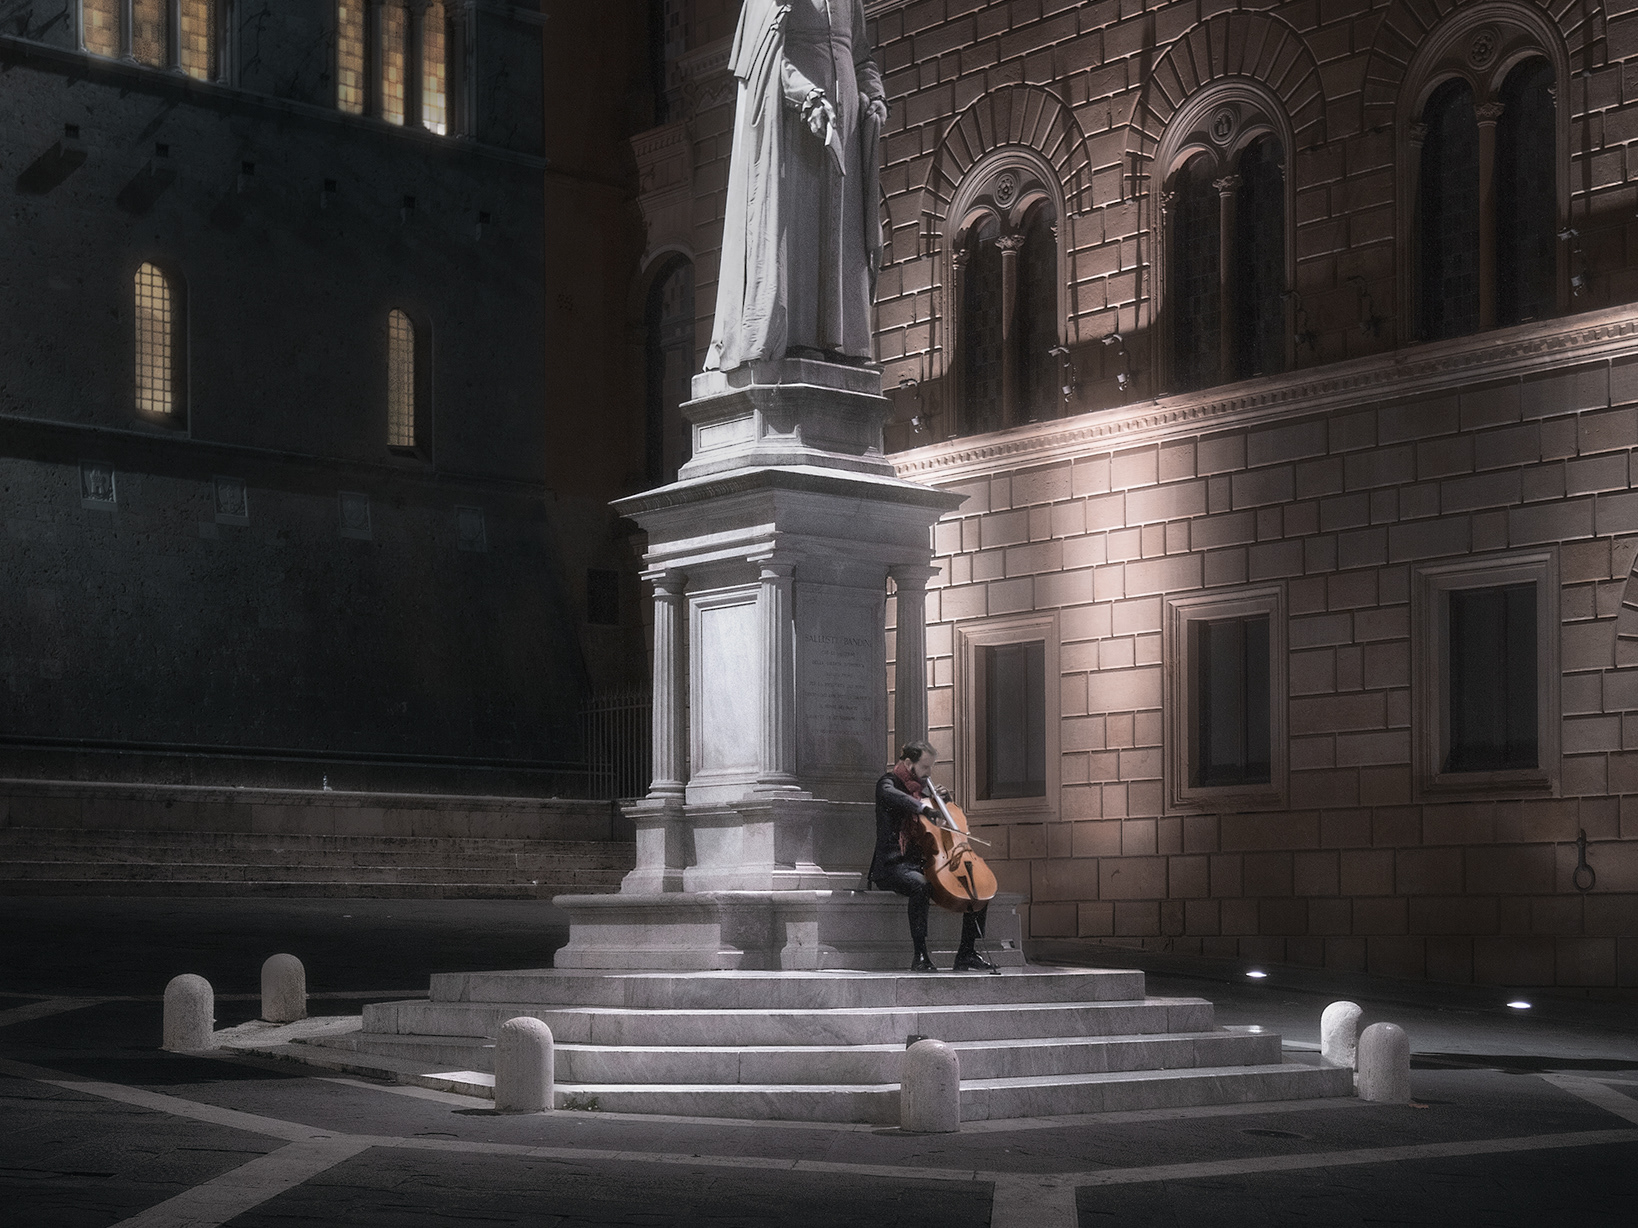
The primary goal is to achieve a photograph that allows you to effectively recover both dark and bright areas. Improper exposure can result in a loss of detail: an overexposed shot erases details in the highlights, while an underexposed one hides details in the shadows.
However, it's important to remember that in nighttime settings, it's not necessary to reveal every single detail in the darkest areas. In fact, preserving some shadow elements can help maintain the mysterious atmosphere typical of urban night scenes.
Consider Your Camera's Capabilities
To achieve the aforementioned goal, it is crucial to consider your camera's capabilities. You need to assess its strengths and limitations so you can make the most of them when setting the various shooting parameters.
For example, if your camera struggles with high ISO settings, it's best to limit their use. If your camera allows for optimal recovery of shadows and/or highlights, you can decide whether to shoot with lower or higher exposure.
Activate the Stabilizer
When shooting handheld at night, you may need to increase your shutter speed.
To avoid blurry photos caused by longer exposure times, it’s essential to activate your camera's stabilizer to prevent this unwanted outcome.